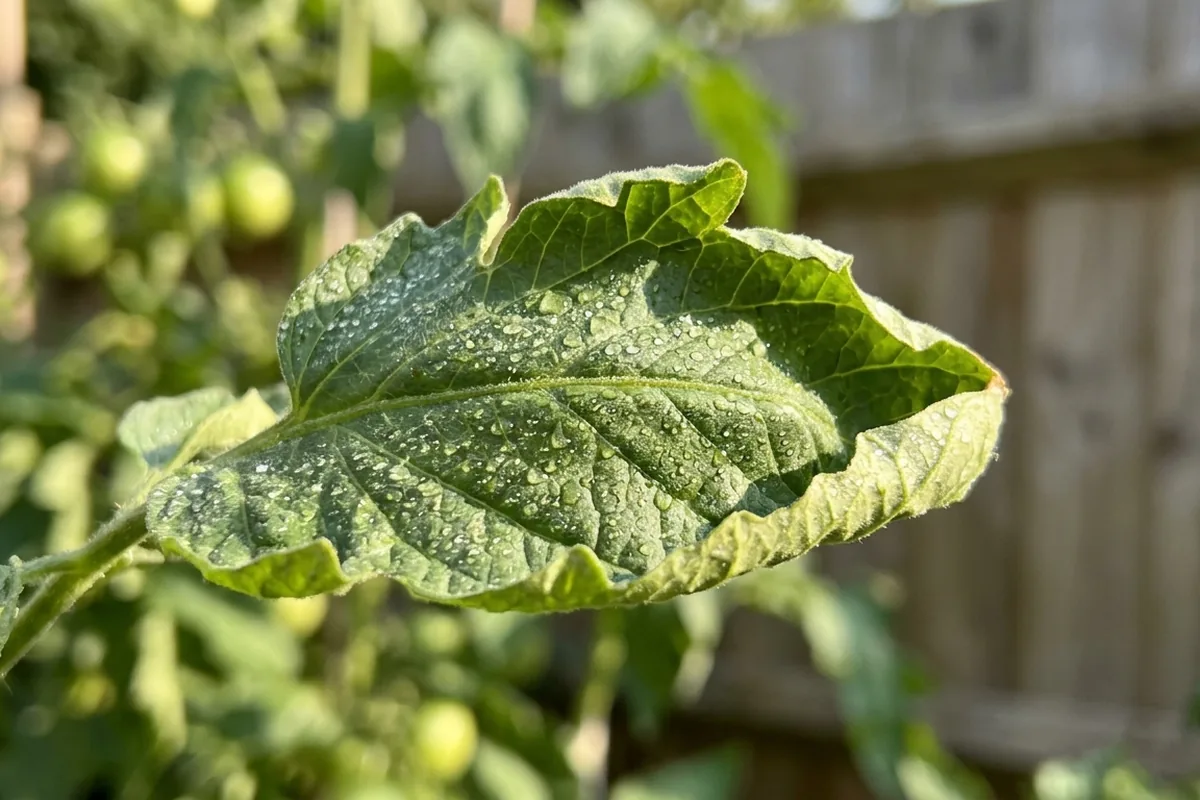
The problem often appears suddenly: a warm spell arrives, and within a day or two the tomato leaves are rolled inwards, stiff and slightly leathery, even though the plant still looks green. This is usually heat and stress, not an instant disaster.
What the curling leaves are really telling you
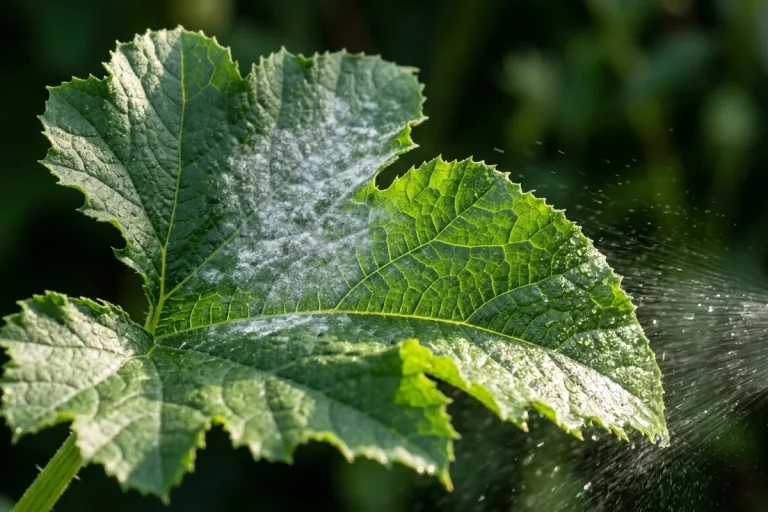
Tomatoes move water from roots to leaves all day. In hot, dry or windy weather, the leaves can lose water faster than the roots can replace it. To cope, the plant curls its leaves to reduce the surface area and slow down water loss.
If this is happening on your plant, look for these patterns:
- Upward or inward curl, but leaves still green: usually heat, sun and water stress.
- Lower, older leaves curling first: often linked to irregular watering and compost that’s swinging between very dry and very wet.
- Leaves curling and going pale or scorched at the edges: too much direct sun on a plant that’s already thirsty, especially in a greenhouse or against a hot wall.
- Tight, distorted new growth only at the top: occasionally herbicide drift or virus, especially if the rest of the plant looks twisted rather than just rolled.
The useful clue is not one leaf, but whether most of the plant is doing the same thing and how quickly it worsens.
The checks to make before you water again
Do not rush straight for the watering can. First, find out what the roots are dealing with.
1. Check the compost properly
Push a finger 3–4 cm into the soil. If it’s cool and damp while the top looks dry, wait. If the pot or grow bag feels unexpectedly heavy, it’s already wet enough. Overwatering in hot weather is a very common reaction.
2. Look for trapped heat and still air
In a greenhouse or polytunnel, hot, still air pushes tomatoes into stress. Leaves may curl by mid-afternoon then look a little better overnight. Open vents and doors, and create a through-draught where you can.
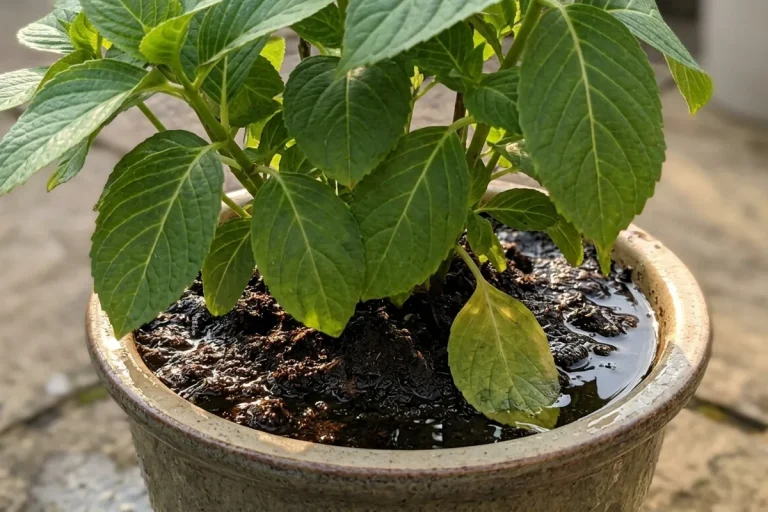
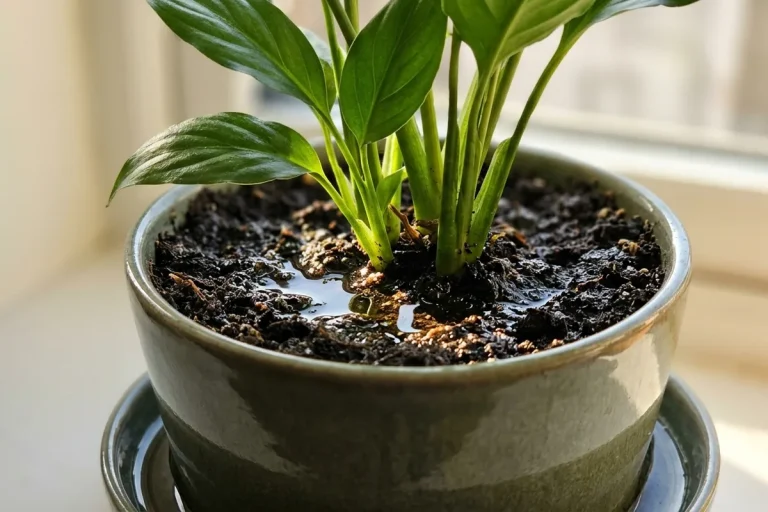
3. Check for waterlogging
A grow bag or pot standing in a saucer that’s still full the next morning means soggy roots and low oxygen. Roots under stress from too much water can trigger the same curling response as drought.
4. Look at the sun pattern
On a bright south-facing patio, containers can dry out far faster than a border. Compost may pull away from the sides of the pot, so water runs straight down the gap and out, leaving the middle still dry.
If the leaves look worse after every “fix”, stop changing several things at once. Go back to these simple checks.
What to do next to help tomatoes through hot spells
Once you’ve checked the basics, these steps usually calm things down:
- Water deeply, but less often
When the compost is dry to a finger’s depth, water slowly until it runs from the drainage holes, then empty any saucers. For grow bags, use several small waterings a few minutes apart so it soaks in.
- Mulch the roots
A thin layer of garden compost or fine bark over the soil helps keep moisture and temperature more even, especially for plants in borders or large tubs.
- Improve shade and airflow
In a heatwave, a bit of temporary shade during the fiercest midday sun helps: greenhouse shading, a bit of fleece, or even a light sheet pegged up. Combine this with better ventilation so the air doesn’t sit hot and still.
- Feed steadily, not heavily
In hot weather, stick to a tomato fertiliser at label rates once a week or so when plants are in flower and fruit. Heavy feeding won’t “fix” curl and can add to stress if roots are already struggling.
- Support and tidy, but don’t strip leaves
Tie stems gently so they’re not rocking in hot, drying winds. Remove only badly damaged leaves; do not strip the plant bare, as it still needs foliage to shade fruit and keep growing.
If your tomato leaves are curling but still green and the plant is flowering, it will often grow through the stress once temperatures ease and watering settles into a steady rhythm. Your next useful step is simple: check the compost below the surface, improve air and shade if needed, then adjust watering to be thorough but not constant.
Reader note
The Flower Expert is an independent gardening publication. Your support helps us keep creating practical plant care guides for everyday UK readers.
This article was created with the assistance of AI and reviewed by an editor. It is intended as general gardening information, not personalised professional advice.
If you still have a question, or if something looks unclear or inaccurate, you can contact us through our contact form.
If you found this article helpful, please consider sharing it on social media or leaving a comment below with your own experience. It helps other readers too.