Shade in a UK garden doesn’t have to mean bare, greenless corners. With the right plants and compost, containers in shade can be some of the freshest, most reliable spots you grow. If you have a side passage that never sees sun, a balcony under a balcony above, or a north-facing step by the back door, this is for you.
If the top of the compost looks dry but the pot still feels heavy, watering again can make the problem worse – shade containers are slower to dry, so planting and care need a slightly different rhythm.
Choosing the right shade, pot and compost
Start by working out what kind of shade you actually have:
- Light shade: bright but no direct sun, such as a north-facing windowsill or open porch.
- Dappled shade: under a small tree or pergola, moving patches of light.
- Deep shade: close to walls or fences, or under dense shrubs.
For containers in these spots, look for plants described as “partial shade” or “full shade” at a garden centre. Reliable choices include:
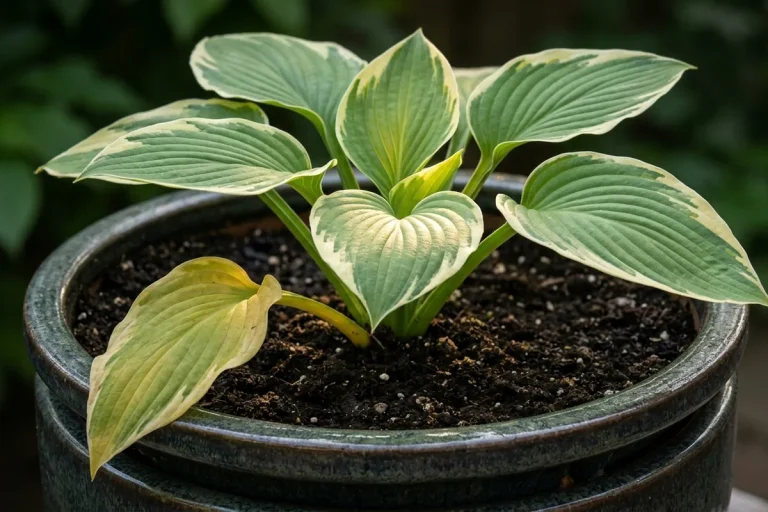
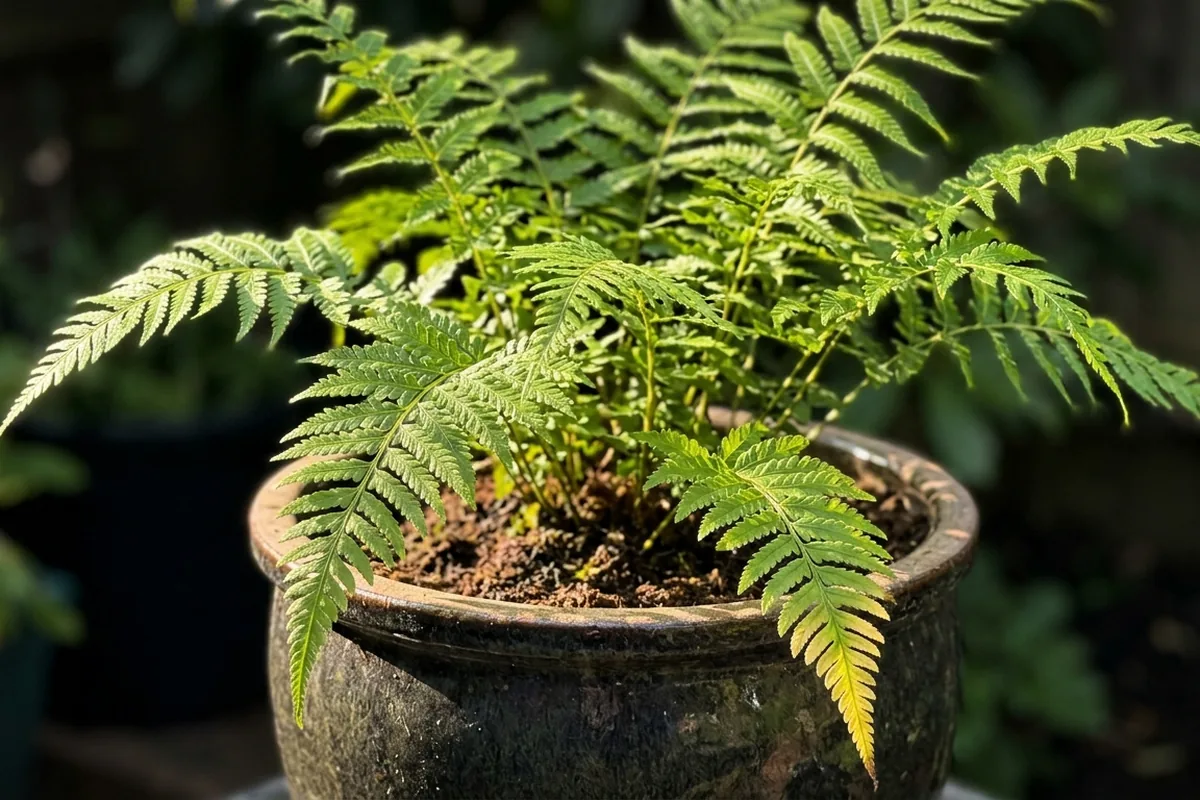
- For foliage: hostas, heucheras, ferns, ivy, carex and other ornamental grasses for shade.
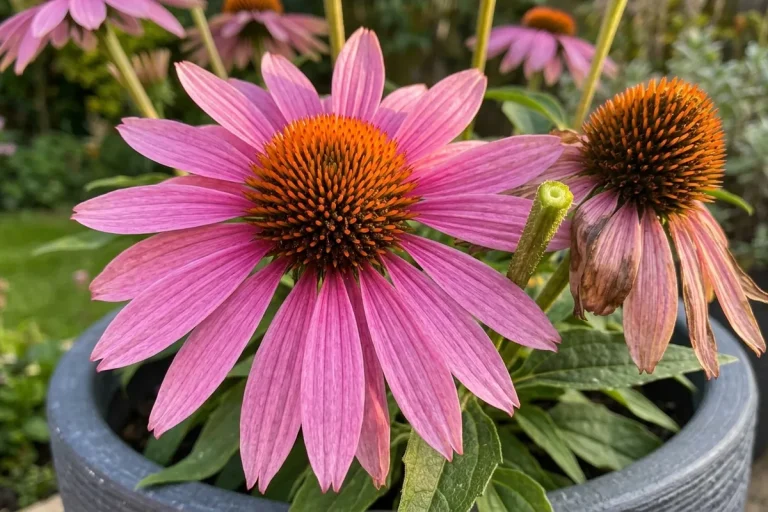
- For flowers: impatiens (busy Lizzies), fuchsias, begonias, astrantia, lamium.
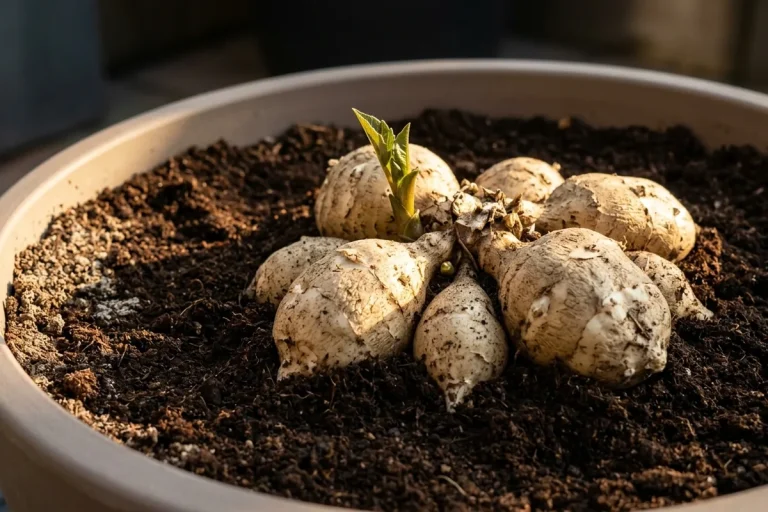
- For bulbs: snowdrops, bluebells, cyclamen coum and cyclamen hederifolium.
Choose pots with good drainage holes. Shade plus poor drainage is the quickest route to soggy compost and rotting roots. Avoid very narrow, tall pots for shade; a broader, shallower container tends to drain more evenly.
Use a peat-free, multi-purpose compost with a bit of added loam if you can find it, or mix up to a third garden soil into bagged compost. This helps the pot hold moisture without becoming waterlogged. For long-term plantings, mix in some slow-release fertiliser granules according to the packet.
Planting step-by-step for healthy roots
1. Prepare the pot
Cover drainage holes with a crock or a shard of broken pot so they don’t clog, then add a layer of compost.
2. Set the planting depth
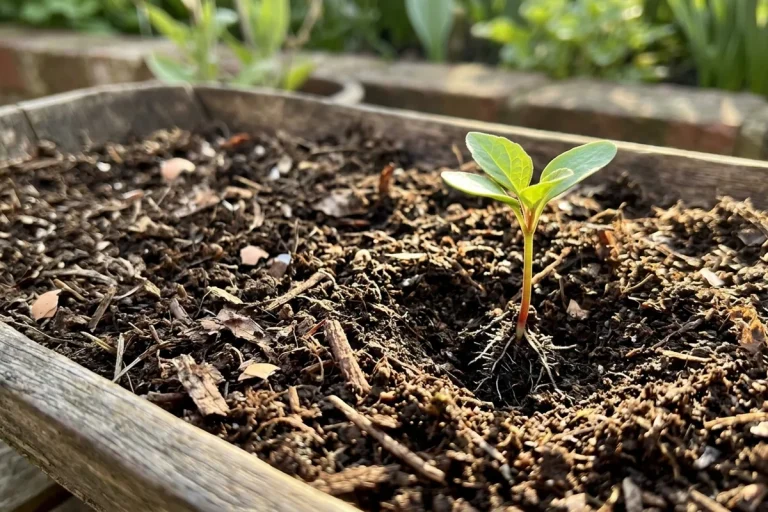
Place plants so the top of the rootball is level with, or just below, the compost surface. If a crown or bulb is sitting proud and you can see it drying out, it’s too high.
3. Space for growth
Shade plants often have generous leaves. In a 30 cm pot, two small hostas and a trailing ivy is usually enough. If it looks slightly under-planted now, it will probably be just right in six weeks.
4. Firm and water once, well
Firm compost gently around the roots so there are no big air pockets. Water slowly until it runs from the drainage holes. If the saucer is still holding water the next morning, tip it away and water less next time.
5. Mulch the surface
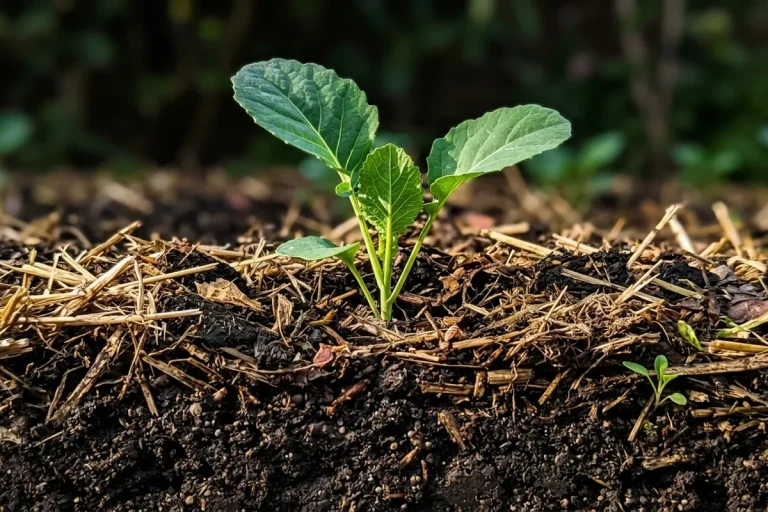
A thin layer of fine bark, composted bark or decorative gravel helps keep moisture even and stops compost splashing onto leaves in heavy rain.
This is the point where many people water again too soon. In shade, wait until the top few centimetres feel dry before you reach for the watering can.
Looking after shade containers through the seasons
In a normal UK summer, most shade containers need less frequent watering than sunny pots, but they still dry out in warm, breezy spells. Before you water again, do a quick finger check: push a finger 3–4 cm into the compost. If it’s cool and damp underneath, wait.
Feed lightly from late spring to early autumn with a balanced liquid feed every 2–3 weeks for flowering plants, a little less often for foliage ones. Always check the label for dilution rates.
Watch for slugs and snails, especially around hostas and young shoots. Check under rims of pots and in damp corners. Physical barriers, copper tape, or wildlife-friendly pellets used carefully can all help.
In winter, shade containers are often cold and wet. To avoid roots sitting in chilled compost:
- Raise pots on feet or bricks so excess water can drain.
- Move the most tender plants (like some fuchsias and begonias) into a sheltered corner, unheated greenhouse or porch.
- Brush away any green algae or moss building up on the compost surface so you can still see and feel what’s going on.
If the leaves look worse after every “fix”, stop changing several things at once. First check drainage, then watering, then feed. The useful clue is not one leaf, but the pattern across the plant.
Once you’ve planted one good shade container, the rest become easier. Start with one pot in your shadiest spot, learn how quickly it dries, then match the rest to that rhythm.
Reader note
The Flower Expert is an independent gardening publication. Your support helps us keep creating practical plant care guides for everyday UK readers.
This article was created with the assistance of AI and reviewed by an editor. It is intended as general gardening information, not personalised professional advice.
If you still have a question, or if something looks unclear or inaccurate, you can contact us through our contact form.
If you found this article helpful, please consider sharing it on social media or leaving a comment below with your own experience. It helps other readers too.