The simplest way to begin is to stop digging and start feeding the soil from above. If you’re looking at a tired, compacted bed or a patch of lawn and wondering how on earth it could become a thriving veg or flower area without turning it over, no dig is for you.
The basic no dig setup, step by step
No dig is really layering, not loosening. You create a rich top layer that worms and soil life gradually pull down for you.
1. Choose your area
Pick a spot that gets at least half a day of light. It can be an old border, rough grass or even part of a lawn.
2. Knock back existing growth
Cut grass, weeds and old plants right down to the ground. Leave the roots in – they help structure the soil as they rot.
3. Lay a light-blocking layer
Put down plain cardboard (no glossy prints or tape). Overlap pieces well so there are no gaps. This smothers most weeds. Water it so it sits snugly on the soil; if it lifts at the edges, tuck it under or weigh it down.
4. Add 10–15 cm of compost
Use garden compost, well-rotted manure, or a peat-free multipurpose. Spread it evenly over the cardboard. If you only have a thin layer, that’s fine – you can top up later. If the compost looks dry and dusty, water it gently so it’s evenly moist, not sodden.
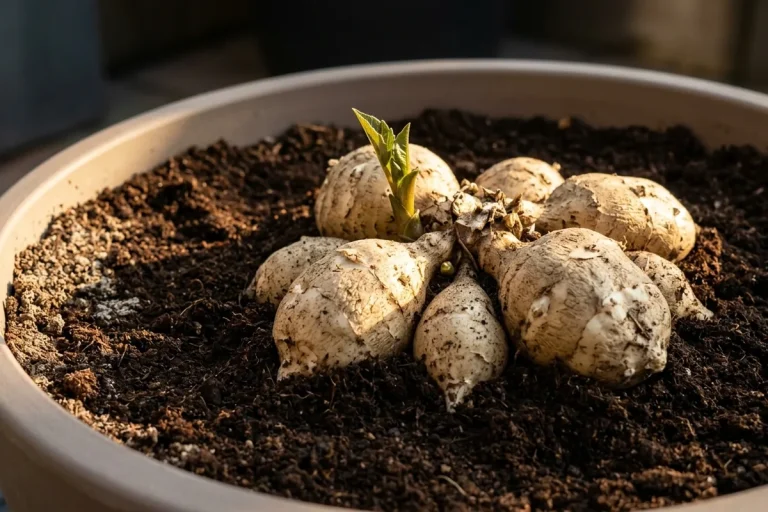
5. Plant or sow into the compost
You can plant straight away into the compost layer. For seeds, choose the finer-textured areas or add a shallow topping of seed compost where you’re sowing.
If you lift a handful of compost and it crumbles but still feels slightly cool and damp, that’s about right. If it clumps and squeezes water, it’s too wet; wait before watering again.
Keeping a no dig bed going
The main job is simply to keep feeding from the top.
- Add 2–5 cm of compost or well-rotted manure once a year, ideally in late autumn or early spring.
- Drop healthy prunings, spent annuals and weed tops on the surface as a mulch; they’ll break down.
- Hoe or hand-weed young weeds before they seed – they’re usually shallow-rooted in the compost.
This is the point where many people disturb the soil again. Try not to fork or double-dig; just slide a hand fork in where you need to plant, then firm back.
If your bed is on a slope and heavy rain washes compost away, edge it with bricks, timber or even upturned turf to hold the material in place.
Common worries and how to handle them
“Will slugs love all this mulch?”
They can, especially in a damp spring. Encourage predators with small log piles, avoid leaving big cabbage leaves sitting on the surface, and check under boards or pots in the evening.
“What about perennial weeds?”
Stubborn weeds like bindweed and couch grass may push through. Do not panic. Pull or dig out each shoot as you see it. The cardboard and shade weaken them over time, but it can take a season or two.
“Is it okay on heavy clay?”
Yes, often it’s one of the best ways to improve clay. You may notice, after a year or so, that a fork goes in more easily and winter wet drains a bit faster. The useful clue is not one plant, but the general improvement across the bed.
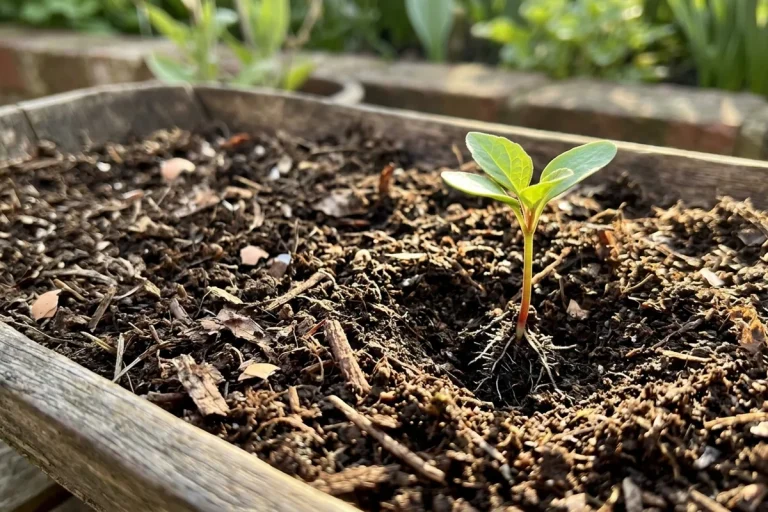
Start with one modest bed rather than the whole garden. Once you see how much healthier and easier it becomes, it’s far simpler to add another than to rescue an over-ambitious project.
Reader note
The Flower Expert is an independent gardening publication. Your support helps us keep creating practical plant care guides for everyday UK readers.
This article was created with the assistance of AI and reviewed by an editor. It is intended as general gardening information, not personalised professional advice.
If you still have a question, or if something looks unclear or inaccurate, you can contact us through our contact form.
If you found this article helpful, please consider sharing it on social media or leaving a comment below with your own experience. It helps other readers too.